Custom Groups: How to create and use them
If you'd like to filter an event to only be available to certain students - and that group does not already exist as a Year, Class, Band, etc - you need to set up a Custom Group.
Creating a Custom Group
- Go to Data > Custom Groups and click on Add Custom Group

 If you have already set up one or more custom groups this is also where you can edit them. Note that if you need to rename a Custom Group you will need to first delete it, and then recreate it with the new name. Deleting a group will not affect any existing bookings.
 - Enter a Name for the group so you can easily identify it when you need to use it - this name cannot be edited once saved, but you can delete and recreate the group with a new name.
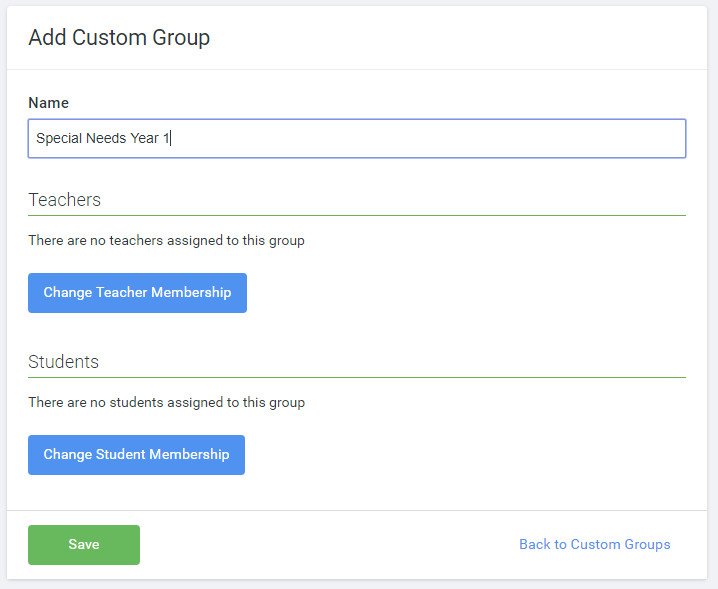
- Change Teacher Membership can be ignored for Events purposes.
-
Change Student Membership allows you to specify the students that will be assigned to the group. Choose the combinations of students you want - this acts in exactly the same way as the students filter used when setting up an event - then click Update Membership.

-
Finally click Save to save your group.

 If you have already set up one or more custom groups this is also where you can edit them. Note that if you need to rename a Custom Group you will need to first delete it, and then recreate it with the new name. Deleting a group will not affect any existing bookings.

Once your groups are created you can use them in the student filter to define who can log in to make bookings.