How to set up Trips
To set up Trips (or edit existing ones) log into your system as an Administrator and click Clubs & Events on the coloured Navigation Bar at the left hand side of the screen.

and then under Other Events click Add Trips to set up a new one, or click on any already existing example to edit it.

This will load the Basic Details stage of Configure Event.
1. Basic Details

Enter information in the Name and Description fields. This will be shown to parents when they log in.
If the event will contain a number of trips then this is where you would indicate the nature of those trips (e.g. 'Overseas Trips', etc). If you have just one trip running under this event then the Name and Description would just be specific to that trip.
Click Next to go to the Trips stage.
2. Trips
In this stage you can add individual trips to the event (or edit any that have already been added) as well as setting up payment if needed, etc.
Note: There are two steps in this stage. When adding a trip you click Next to move between them. If you are editing an existing trip, you can access the steps within it by clicking them at the top of the page.
If you have set up trips in the past, you will be asked at this stage if you want to copy any of those trips - you can then edit the details to update them as required. 
A. Trip Information

You are required to complete the following five fields in order to save the trip:
Trip Name and Information - whatever you enter will be shown to parents when they go to make a booking.
Start Date & Time and End Date & Time for the trip.
Capacity is where you should enter the number of tickets/places available for this particular trip.
Bookings Open to Parents and Bookings Close to Parents is where you set the start and end of the booking window during which parents will be able to book. If these are left blank they can book as soon as the event has been created and/or carry on booking until the end of the event.

Student Filters allow you to choose who can book a place for the trip. By default all students are selected, however by clicking Change Filters you can limit this. For more information see Using the student filters
Click Next to go to the Payment Details step.
B. Payment Details
- If there is no cost for trip tickets leave the There is a cost for this trip box unticked and click Save at the bottom of the screen to return to the main Trips stage, where you will see a summary for each trip already added. To add more click the blue Add Another Trip button at the top right.
-
Next you configure how payment will be collected.
 If you select The School you can either:
 - On the main Trips stage you will see a summary for each trip already added. To add more click the blue Add Another Trip button at the top right.

At the foot of the page is the option to set a Trip Limit on the number of trips a student can be booked into via the How many trips can be booked per student drop down.
Click Next to go to the Booking Questions stage.
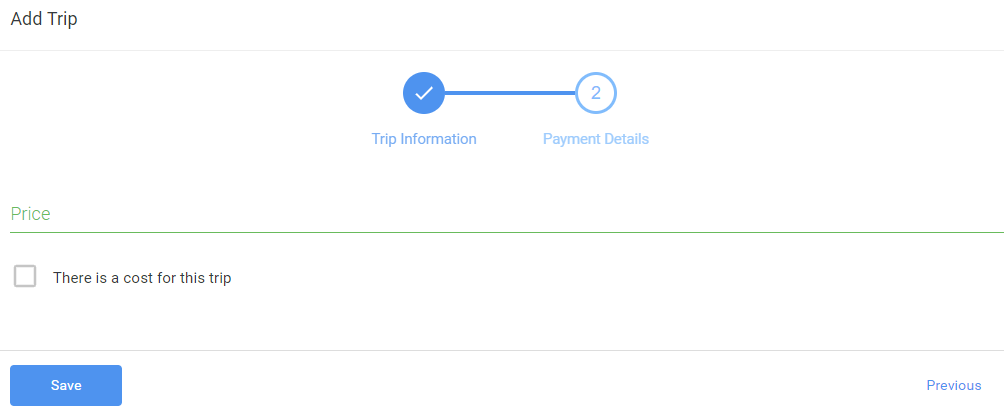 If there is a cost for the trip tick There is a cost for this trip and enter a Price.
 If you select The School you can either:
Tick the box to Require immediate Payment - in which case payment will be taken as soon as a parent books, using any payment method set up for your system (see Setting up Payment Providers for further information).
 Or leave it unticked, in which case the price will show on screen to the parents but no payment will be taken. You can then enter Payment instructions for parents - for example to bring cash on the day, call in to the School Office, etc.

If External provider/other is selected the price will show on screen to the parents but no payment will be taken. You can then enter Payment instructions for parents - for example to bring cash on the day, call in to the School Office, etc.
 Click Save to go back to the main Trips stage.

3. Booking Questions
This stage allows you to add questions, these can be optional, or mandatory, added to all the trips in an Event, or only to specific trips.
To set a question on all trips within the event click Add Question under All Trips. Alternatively (or in addition) where a question is trip specific use Add Question beneath the relevant trip.
 Whichever option you choose, you are then presented with a form to set the question. At the top is a reminder of what the question applies to and under this you enter the text of the Question and choose the Type of Answer you require:
 The available options under Type of Answer are:
- Text Field: allows the parents to type an answer to the question in their own words.
- Yes/No: allows the parents only a binary 'yes' or 'no' reply.
- Date Field: allows the parents to enter a date.
- Drop Down: this allows you to select a range of pre-set responses for parents to choose from. You add options by typing in text, then pressing enter to load another entry box. You can reorder the options by clicking and dragging them, or delete them by clicking the bin icon.


Tick This question is mandatory if you want parents to be obliged to answer it before they can make a booking.
 Click Save which will take you back to the main Booking Questions stage, where you will see a summary of questions already added and edit these, or add more if wished.
Once all your questions have been added click Submit to create your trips event and go to the Event Dashboard.
To view the answers given to questions go to Manage Bookings and Export All Bookings - the answers for each parent are given in the resulting spreadsheet.

You can also customise the Manage Bookings page to display the questions and their answers, using the Customise Columns option:

All the above can be revisited and edited at any time via Clubs & Events > clicking on an event > Configure Event.